Quick Guide video
- Remember that username and passwords are case-sensitive, and that your password must have at least 5 characters.
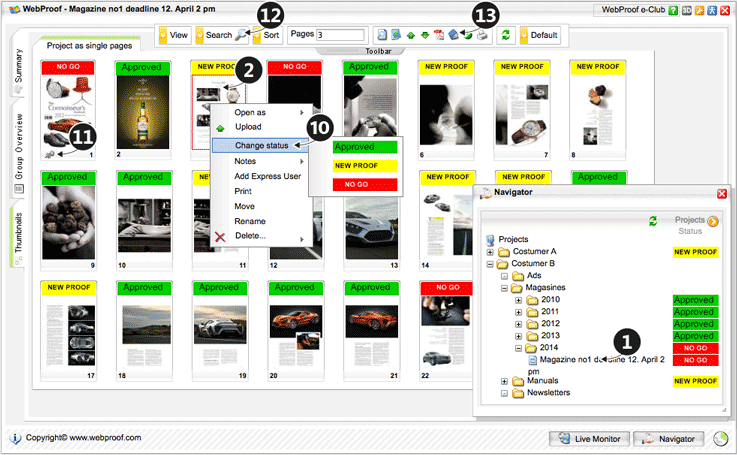
- Select the job/project in the Navigator window.
- Double-click (or press Enter) the thumbnail.
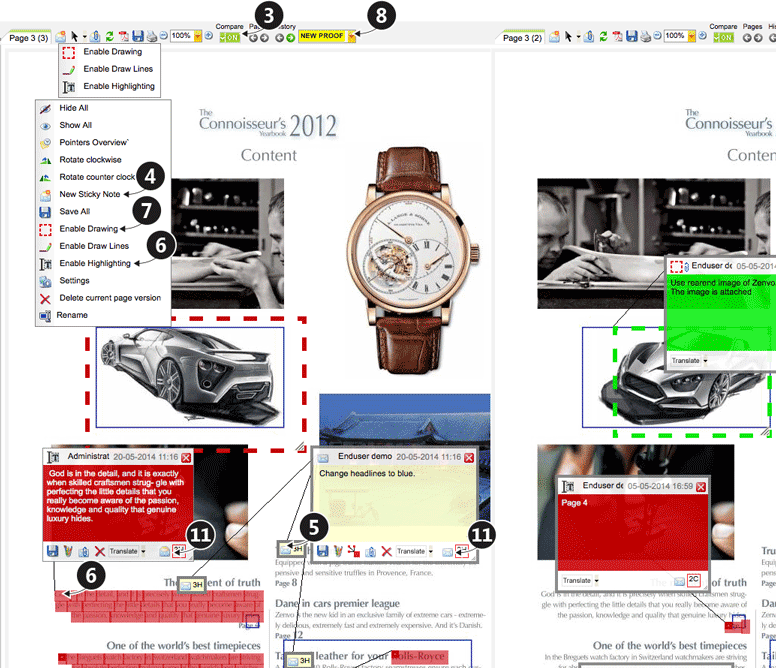
- Click COMPARE to have changes between the two most recent versions highlighted automatically. WebProof compares on-thefly, pixel-by-pixel.
- Right-click the left-hand preview (latest version) and select "New Sticky Note"
- Move the pointer box and text box to the required position, then enter the text and attach any files.
- Highlight - hold the mouse button down and highlight the text. The highlighted text will be copied into the sticky note, which can now be changed.
- Right-click and select "Enable Drawing". A box can now be created in which to make comments.
- Select a new status code.
- Close the preview window with the two most recent versions and click "OK" to save changes.
- If you did not select a new status code, right-click the page 1 thumbnail, cover, and select the status code using "Change status".
- You can review the comment status for individual pages. In the thumbnails view, pages with red pins have unread comments and pages have gray pins if all the comments have been read.
In preview mode, you can mark comments as read or unread by clicking on the Sticky Note envelope (or Note). - To search text in the PDF files, use the "Search" dropdown in the toolbar. From here, you can also view pages with a specific status code.
- Enter 1-16 and click "3D Book" to display a 3D view.
Comments